Unlike many people think, December is an excellent time for finding travel deals for hotels and flights.
There are many classic destinations to visit during Christmas, but travelers often need to postpone their plans due to the high prices. However, December is also excellent for finding travel deals for hotels and flights, especially before Christmas and New Year’s Eve.
It’s the time to discover popular places without many tourists or find a warm place to forget about the winter for a few days. Luckily, the U.S. has incredible cities to visit during the holidays, and some become more affordable in December. Although inflation is raining on many people’s parades, this article should help guide you in the right direction this Christmas season!
1. Flagstaff Feels Magical At Christmas
- The city puts on an annual Polar Express train ride.
- Hotel rates are the cheapest during the winter here.
One affordable winter destination for those in the Western US is Flagstaff, Arizona. Not only does the entire town turn into a white wonderland once the snow falls, but Flagstaff also gets very festive for the holidays, including a Polar Express train ride. The streets throughout town are also illuminated with lights, music, and joy for the holidays, making this a special place in the Grand Canyon State.
Speaking of the Grand Canyon, few tourists will come here during colder months, and hotel prices drop as well, so maybe do both? They’re close!
2. Orlando Has Excellent Deals
- Orlando is home to countless theme parks.
- The daily temperatures in winter are in the low to mid-70s.
Tourists who love the holiday spirit but hate the cold weather can have the best of both worlds in Orlando, Florida. The average temperature in the city in December is 72.1 °F, and there are endless activities for the whole family.
There is no better way to get into the holiday spirit than to explore the theme parks’ special activities. Travelers should consider spending it at Disney World, Universal Studios, or SeaWorld. Yet, Orlando is crowded during Christmas, and travelers must expect long lines when visiting the theme parks.
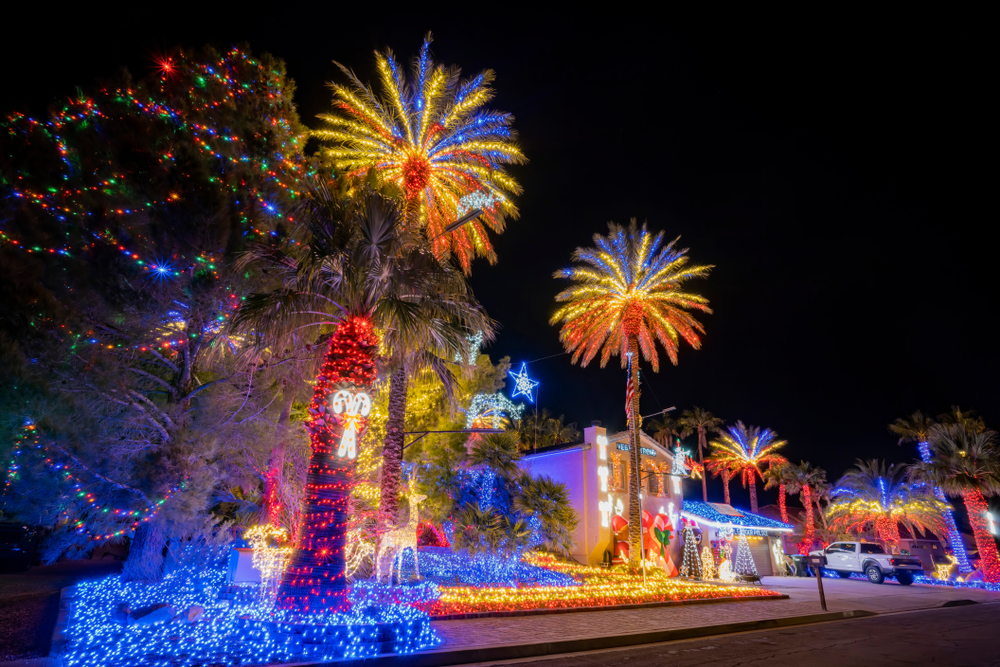
3. Christmas In Las Vegas Might Be Surprising
- Las Vegas hotel rates are at their lowest during the Christmas season.
- The hotels across the city go all out with their decorations for Christmas.
The World’s Entertainment Capital shines even brighter in December. The iconic Bellagio Hotel and Palazzo Hotel mesmerize visitors with their Christmas decorations, and the many bars across the city are perfect for having a drink and celebrating.
It’s also relatively easy to find good hotel deals in Las Vegas, Nevada, during the holiday season, so that’s another excellent reason to visit the city. The days are often warm in December, making Vegas another great spot to skip the cold days.
4. Grand Canyon Is A Great Spot During Christmas
- The Grand Canyon will be less crowded during the winter.
The Grand Canyon is filled with surprising spots, and most people visit it during the summer. However, seeing the national park during the winter offers many pros: visitors can avoid the crowds, the temperature tends to be milder, and there are many winter activities in the area.
During the holiday season, tourists can take the Polar Express to visit Santa’s workshop. Of course, there are many options for hiking, and it’s the perfect time to watch the sunrise at the South Rim, especially when there is snow.
5. Salt Lake Is The Perfect Balance Between Peace And Fun
- The public transportation is amazing in Salt Lake City, Utah.
- Snow always falls during the winter, making for great skiing.
Salt Lake, Utah, is relatively cheap in December, and there are plenty of activities for different types of travelers. The city features excellent public transportation and is a perfect spot to visit during the winter. Visitors can find fantastic ski and snowboard slopes in the surroundings, while Woodward Park City is famous among people who want to adventure snow tubing.
Travelers can also enjoy the vibrant art scene at Salt Lake, which is full of murals and sculptures.
6. This Hidden Gem In Texas
- Arlington is home to Six Flags Amusement Park and other family attractions.
- There are countless Christmas markets, light shows, and parades.
Arlington, Texas, receives fewer visitors than other cities in the estate. It’s an excellent destination for families, as the city is immersed in the holiday spirit with light shows, Christmas markets, parades, and theme events. Arlington also features excellent bars and restaurants, making it the perfect place to enjoy the season.
For Christmas market fans, Arlington embraces the holiday spirit and features one of the country’s best Christmas markets. Visitors can also enjoy the light show at Hurricane Harbor Parking Lot.
7. Discover Charlotte During The Winter
- Charlotte is less crowded and cheaper to visit in the winter.
- The streets will be filled with music, lights, and holiday cheer.
Most people prefer to visit Charlotte, North Carolina, during summer. Yet, winter is an excellent chance to explore the city with fewer visitors and find more affordable hotel prices. Visitors can enjoy the holiday spirit by strolling on Christmas markets, attending romantic candlelight concerts, and discovering the excellent heated patios and restaurants in town.
Travelers can also find cozy campsites outside Charlotte, a perfect way to enjoy quiet days in December.
8. Visit This National Park In Montana
- Montana Glacier National Park is affordable and open year-round.
December can be an excellent time to slow down, and one of the best ways to do it is by being close to nature. Luckily, the U.S. has many National Parks open year-round, and the Montana Glacier National Park is one of them.
During winter, visitors can enjoy the Montana Glacier National Park winter forest covered in snow, cross-country ski or snowshoe on the closed roads, or join the hosted tours on the weekend. There is also free auto camping available in the area.
9. This Affordable Spot In Vermont
- Stowe offers some of the best skiing in the United States.
- Try to book lift passes at least one week out.
Stowe, Vermont, has been named one of the best ski towns in the country. Although other spots in the region have better hotel deals, Stowe is covered with more snow than other areas – Therefore, there are no risks of run closures. Travelers can save money by booking lift passes online at least one week in advance.
For travelers who want to discover the region during other seasons, Stowe is also stunning during summer.
10. Winter Is An Excellent Time To Visit Chicago
- Although chilly, Chicago is most beautiful at Christmas time.
- There are free city events during the holidays, like ice skating.
Chicago, Illinois, tends to be cheaper during the winter, making it an option for travelers on a budget. The hotel prices drop during the season, and there are plenty of activities.
Travelers can enjoy Chicago by discovering its outdoor ice skating rinks and light shows, strolling over Christmas markets, and watching the world’s largest permanent digital art projection at Art on theMART. Art fans can also visit the Art Institute of Chicago and the Prince Immersive Experience.
11. Explore Free Activities In San Antonio
- San Antonio is family-friendly and ranks highly for culture.
- The city puts on an incredible Christmas light display.
San Antonio is one of the most colorful spots in the United States. The city combines the culture of two countries (the U.S. and Mexico) and is an affordable destination year-round. The temperatures are mild during the winter, and it features arguably the most gorgeous Christmas lights in Texas.
Tourists can enjoy many free activities, including visiting a museum, strolling along the river, and visiting the San Pedro Creek Culture Park. Another must-go spot to see is the Alamo and its historic buildings.


