What to know before and during your travels in this vibrant town.
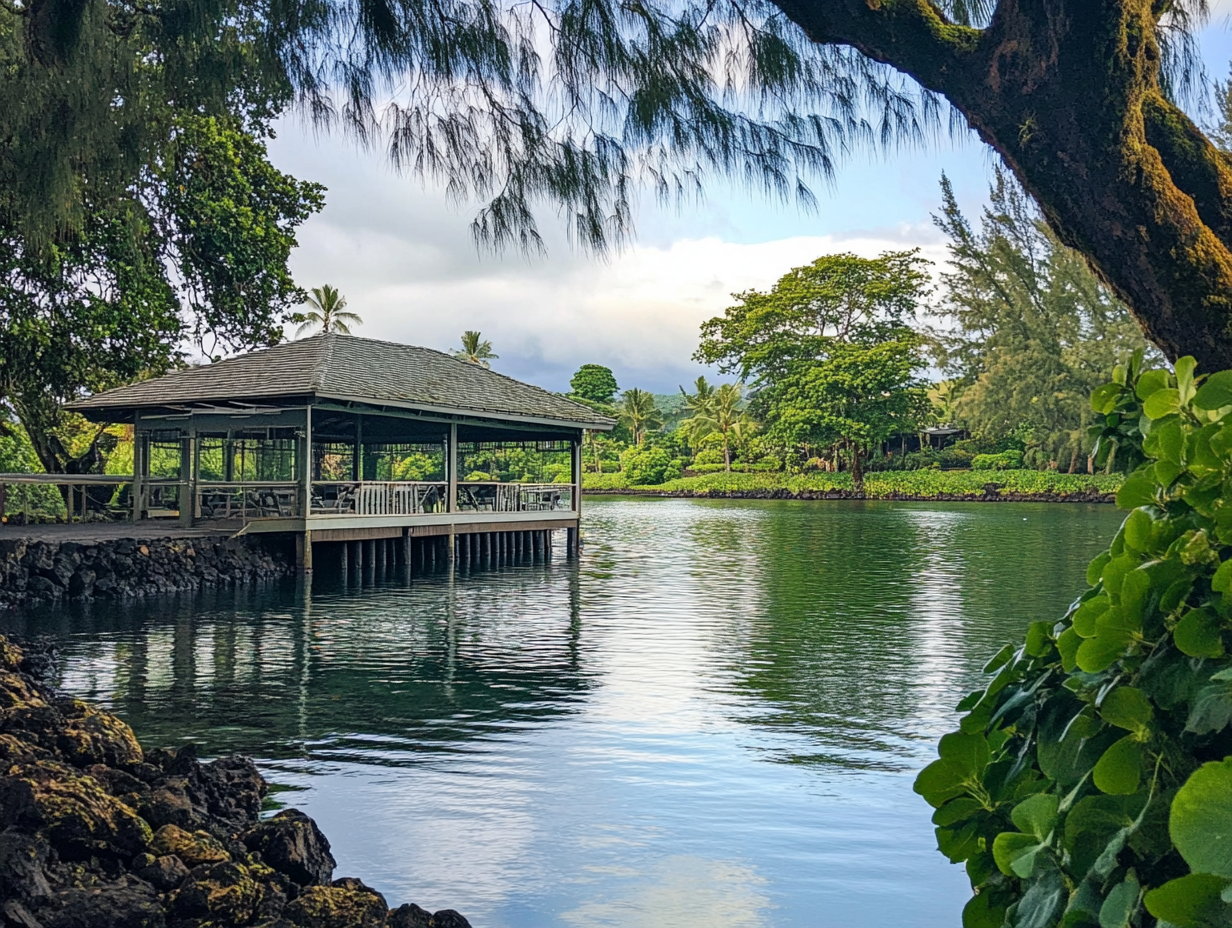
Located on the northeastern side of Hawaiʻi Island, Hilo is a quirky town filled with loveable charm, fascinating history and jaw-dropping natural wonders. While the town itself is often considered quiet and sleepy, Hilo is filled with life. Here, the streets are lined with hole-in-the-wall shops and beautiful hiking trails that are just short drives from the center of town.
In fact, Hawaiʻi Volcanoes National Park is just a 45-minute drive south from the Hilo International Airport. The national park is a popular point of interest, attracting travelers from all over the world. However, there’s more to the area than just the national park. Before traveling to the Big Island, research local businesses to visit, plan your hikes and pack for the weather. Here’s 5 tips to get you started.
1. It rains—a lot—so pack accordingly
Hilo is one of the wettest cities in the U.S. with an average rainfall of about 130 inches per year. The rain generates flourishing gardens, tropical rainforests and breathtaking waterfalls. But it also shouldn’t come as a surprise that it will likely rain during a trip to Hilo. So, pack rain boots or footwear that you don’t mind getting muddy or wet, along with a light jacket. The temperature rarely drops below 60 degrees Fahrenheit, and the climate is typically warm, muggy and partly cloudy.
2. Prepare to walk and hike
One of the best ways to discover an area is on foot and Hilo town is a wonderful place to walk through local shops and discover cozy cafés. In addition to walking through the town, one of the biggest draws to Hilo is the great outdoors. The trails in the region can lead to massive waterfalls, and one even takes hikers through a lava tube. While some of these trails are short, you should still come prepared to climb stairs, walk on slippery trails and hike at various elevations.
3. Kīlauea’s glow isn’t always visible
Travelers from across the world visit Hawaiʻi Volcanoes National Park to see the eruption at Kīlauea. The volcano began erupting again on Sept. 29, 2021, and the new eruption created an 89-foot-deep lava lake in the Halemaʻumaʻu crater. Park rangers at Hawaiʻi Volcanoes national park say nighttime is the most magnificent time to watch the eruption. A reddish-orange glow fills the dark sky above a lava lake and the light illuminates the jagged crater walls. However, there are some nights when clouds and fog roll in, obscuring the view. But don’t be deterred or feel defeated, witnessing a volcanic eruption is still an awe-inspiring experience and the park is still a terrific place to hike during the day.
4. Carve out time to visit museums
The town of Hilo is filled with intriguing history and inspiring stories. At the Lyman Musuem, visitors can dive into the natural history of the island and learn about ancient Hawaiian culture. The Lyman Mission House is also a historic gem as the oldest wood frame building on the Big Island. Located just a 10-minute walk from the Lyman Musuem, the Pacific Tsunami Musuem is where visitors can find information about the devastating tsunami that swept Hilo on April 1, 1946. And the ʻImiloa Astronomy Center is located at the University of Hawaiʻi’s Science and Technology Park. Here, visitors can unravel Hawaiian’s deep connection to astronomy as well as explore a planetarium.
5. Visit the farmer’s market in Downtown Hilo
Open daily, the Hilo Farmers Market is a vibrant market where you can find fresh produce, tropical fruits and sweet treats. At the market, visitors can taste exotic fruits that are nearly impossible to find on the Mainland.

