The list was compiled by online travel agency Expedia
Are you planning an island escape in 2025? Expedia, a travel agency, has put together a list highlighting some of the most beautiful and traveler-friendly islands to visit in 2025. This list is based on factors such as accessibility, how welcoming the place feels, safety, costs, and the overall experience. This is the first time the travel site has published its Island Hot List.
10 best islands to visit in 2025 – Aruba, Bali, Fiji, Koh Samui, and others
1. Aruba (Best for Year-Round Sunshine)
Aruba is perfect if you’re chasing the sun. It stays warm and sunny almost throughout the year, perfect for beach lovers. Clear blue water, white sand beaches, and friendly locals make Aruba sought-after by tourists. There are also plenty of activities to do, from water sports to exploring local markets.
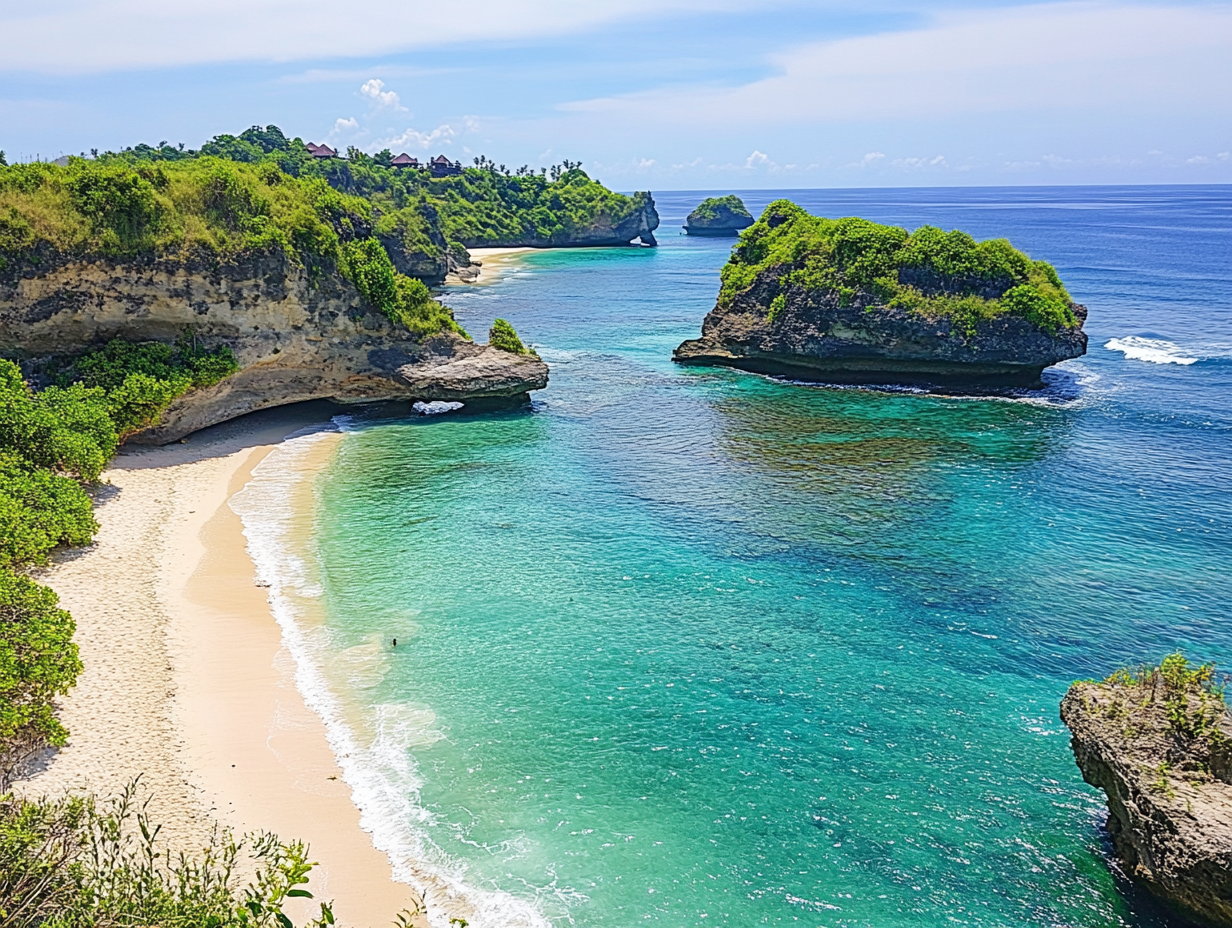
2. Bali, Indonesia (Best for Relaxation)
One destination Indians have been flocking to lately is Bali. Offering Indians visa-free entry, Bali is a great place to unwind, with quiet beaches, rice terraces, and temples. Many people also visit for yoga retreats and spa treatments. It is currently one of the most budget-friendly countries to visit from India.
3. Dominican Republic (Best for Adventure)
This is one of the top attractions in the Caribbean, especially if you’re looking for adventure. The Dominican Republic has it all – hiking, zip-lining, surfing, golfing, and more. From mountains to waterfalls to tropical forests, the country has lots of experiences to offer.
4. Fiji (Best for Community)
Fiji is more than just pretty beaches. What makes it special is the people. Visitors often say they feel like part of the local community. Besides beautiful beaches, the island offers warm hospitality, traditional ceremonies, and welcoming villages.
5. Jamaica (Best for Culture)
Jamaica is full of life and energy. From reggae music and street food to local art and festivals, there’s plenty to enjoy here. You can explore the beaches and waterfalls by day and enjoy live music at night.
6. Koh Samui, Thailand (Best for Affordable Luxury)
Just a two-and-a-half-hour flight from India, Koh Samui gives you the feel of a luxury holiday without burning a hole in your pocket. You’ll find beautiful resorts, tropical beaches, and delicious Thai food at a good value. The island is easy to get around and has a mix of quiet spots and lively markets.
7. Maldives (Best for Romance)
The Maldives is a dream destination for couples, particularly popular for private villas over turquoise water, candlelit dinners by the sea, and peaceful island life. It’s a popular spot for honeymoons and anniversaries. Depending on your budget, you can find both luxurious accommodations and budget-friendly stays in the Maldives.
8. Oahu, Hawaii (Best for Surfing)
Oahu is a surfer’s paradise, home to some of the world’s most famous waves. But even if you don’t surf, the island has something for everyone – beautiful beaches, hiking trails, local food, and Hawaiian culture. You can explore both city life in Honolulu and nature in quieter parts of the island.
9. Paros, Greece (Best for Nightlife)
Paros is super popular for its breathtaking beaches and cultural history. By day, it’s all about beaches, whitewashed houses, and peaceful streets. But when the sun sets, the island comes alive with music, bars, and late-night cafes. It’s a great pick if you want both relaxation and a good party.
10. Sardinia, Italy (Best for Food Lovers)
Sardinia is renowned not only for its beautiful beaches and ancient sites but also for its exceptional cuisine. You’ll get a true taste of Italy here through fresh seafood, handmade pasta, and local cheeses. However, it’s important to note that Italy is generally not a budget-friendly travel destination for Indian tourists.


