Travelling with food enough to feed the family and nourish our souls is something all Indians do. But have you ever wondered if, while travelling with food, you are jeopardizing your health by not adopting the best food safety practices? Here are some tips to keep your food safe while travelling.
Travelling is a fun activity everywhere in the world, whether you are doing it alone, with friends, with a partner or with the entire family. In India, a compulsory travelling tradition is to pack plenty of homecooked food for the journey, and then indulging in local foods when we reach our destination. Whether you are a Gujarati travelling with Theplas with Chhundo or a Bengali travelling with Luchi-Aloo Bhaja, carrying food on your travels is a must.
And yet, what many of us fail to take into consideration is the fact that food safety matters a lot while travelling. Travellers tend to be more at risk of getting nausea, vomiting, diarrhea and food poisoning while travelling, and a major cause of this is eating spoilt or contaminated foods. This food could be among the goodies you packed from home that went stale and bad. This food could also be something you ate during the journey or at your destination.
Truth be told, nothing spoils a good trip more than these health issues. So, when traveling, it’s essential to take precautions to ensure the safety and quality of the food you consume. Here are some of the best and healthiest tips to keep your food safe while traveling.
Carry hand sanitizer
Before handling any food, make sure to clean your hands thoroughly with soap and water or use hand sanitizer containing at least 60% alcohol. This helps prevent the transfer of harmful bacteria or viruses.
Pack perishable foods properly
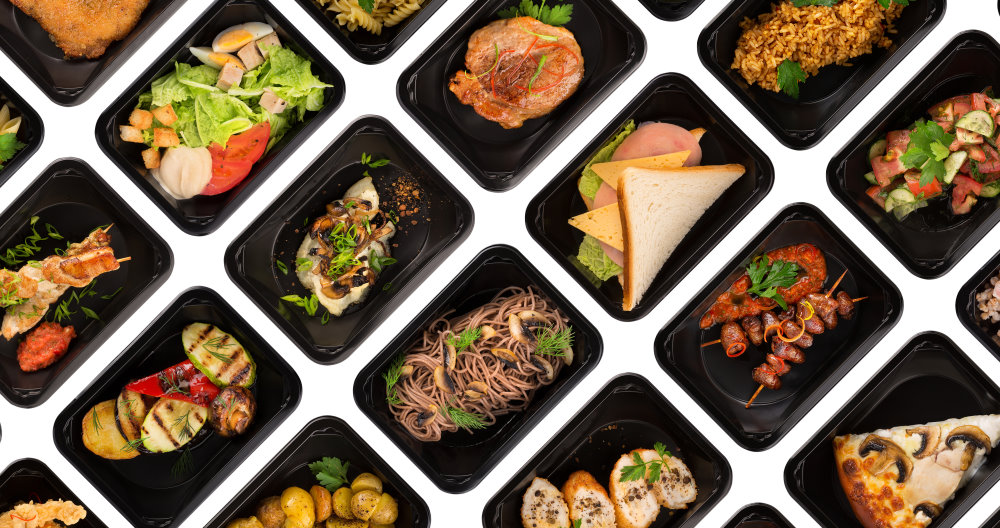
If you’re carrying perishable foods like fruits, vegetables, or dairy products, make sure to pack them in insulated coolers or containers with ice packs to maintain their temperature and prevent spoilage.
Choose reputable food establishments
Opt for reputable and well-established food establishments, such as restaurants or cafes with good hygiene practices. Look for places with high ratings or positive reviews to minimize the risk of foodborne illnesses.
Drink bottled or filtered water
Depending on your travel destination, it may be advisable to avoid tap water and instead opt for bottled water or water that has been properly filtered and treated. This can help prevent waterborne diseases.
Be cautious with street food
If you want to try local street food, be selective about the stalls or vendors you choose. Look for places where the food is cooked fresh and served hot to minimize the risk of contamination. Avoid consuming raw or undercooked foods from street vendors.
Avoid risky foods
Certain foods are more prone to contamination and should be avoided while traveling, especially in regions with poor sanitation. These include raw or undercooked meats, seafood, unpasteurized dairy products, and raw eggs.
Use food safety apps or guides
Consider using food safety apps or guides that provide information on safe food handling practices, restaurant ratings, and local food safety regulations. These resources can help you make informed decisions about where and what to eat.


