Taking care of your skin and hair before travelling boosts your physical appearance and improves overall mood and confidence levels.
Travelling is an exciting experience. The idea of going to and exploring a new place is thrilling, but a change of weather and climate conditions can harm your skin and hair. It may cause dullness of hair, skin breakouts, acne flare-ups, dry lips, tan lines, and other such common issues. It, therefore, becomes important to take care of yourself and manage some common issues while travelling. Dr Rinky Kapoor, consultant dermatologist, cosmetic dermatologist and dermato-surgeon, The Esthetic Clinics, says there are some skin and hair treatments you can opt for before travelling. Preparing your skin and hair prior to embarking on a journey is essential to ensure you look and feel your best, she says, recommending scheduling a cosmetic skin treatment.
Hydrating Facial Or Exfoliating Peel
These can be done to rejuvenate your complexion and address any skin concerns. According to the expert, these treatments can help improve the texture and appearance of the skin, leaving you with a ‘radiant glow’ that will boost your confidence throughout the trip.
Hair Treatment
In addition to skincare, it is also imperative to pamper yourself with a hair care treatment before travelling. The dermatologist says it can help revive your tired locks and enhance the overall health and shine of your manes. “Whether it is a deep conditioning treatment or a fresh haircut, investing in your hair care routine can make all the difference when it comes to maintaining manageable hair while on the road,” she suggests.
Other Skin And Hair Tips To Follow While Travelling
This is what the expert advises:
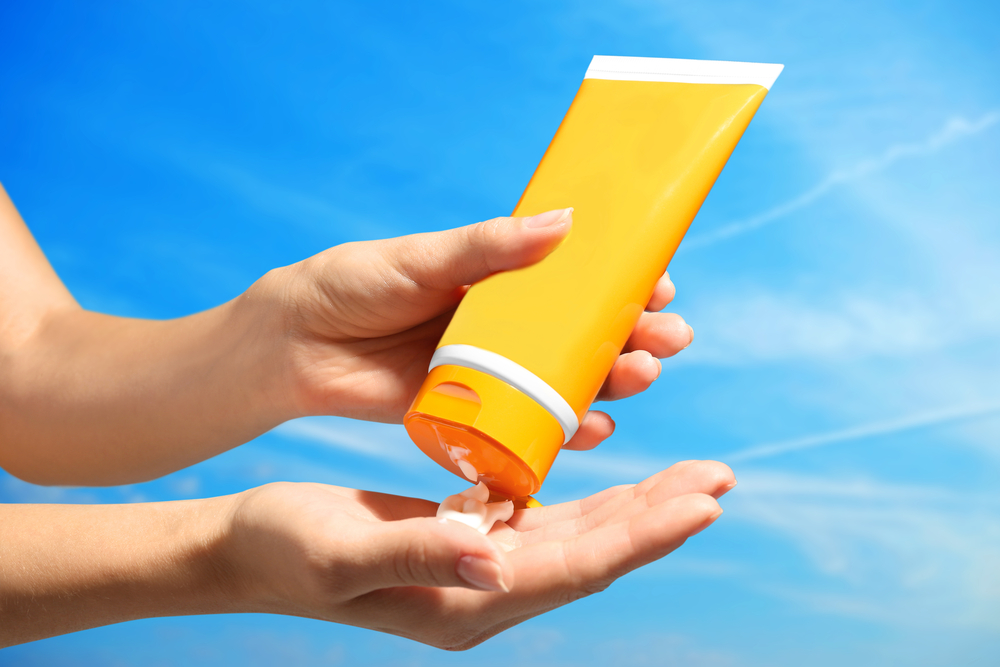
- Opt for a lightweight moisturiser with SPF protection to keep your skin hydrated and shielded from harmful UV rays.
- Use a hydrating face mist throughout the journey to refresh and revitalise your skin, especially during long flights.
- Pack all your essential skincare products like cleanser, toner, moisturiser, night cream, and sunscreen.
- Remember to carry disposable makeup wipes to easily remove your makeup.
- Always have a water bottle handy and drink water regularly. Not prioritising hydration can damage the skin and hair. Dehydration can cause dullness in the skin; it can take away the shine from the hair.
- For hair care, consider carrying a travel-sized dry shampoo to combat greasy hair on-the-go.
- To protect your hair from damage caused by styling tools or harsh water, apply a leave-on conditioner before styling.
- Embrace natural hairstyles like braids or buns to minimise heat styling.
- Shield your hair from dirt, pollution, and sun damage by keeping it covered. It can safeguard the scalp and maintain the youthfulness of hair for a longer period.

