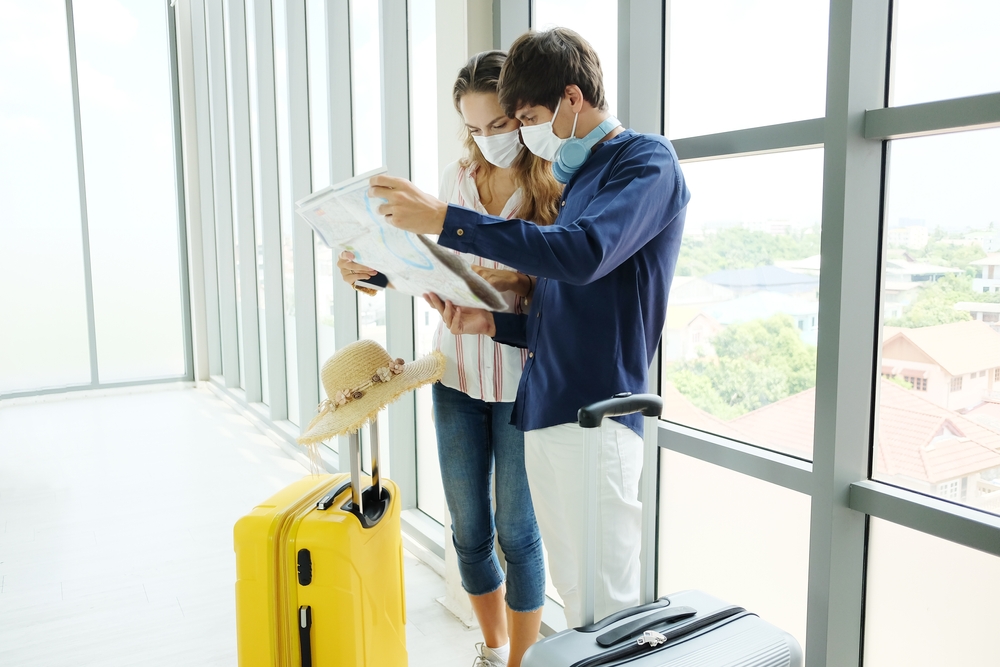
Going on a holiday is not as easy it may seem and times you end up spending more than what you had actually planned.
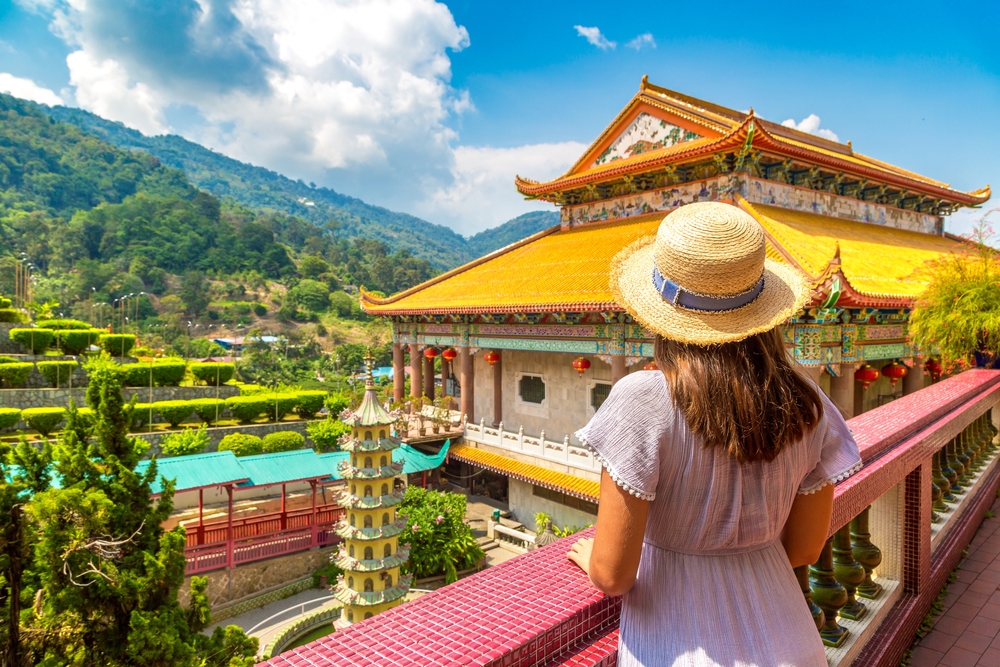
Traveling can be a very tricky experience and travelers often find it difficult to manage their finances in an eventful and exciting travelling destination. Malaysia is one such tourist destination that is truly fascinating as well as extraordinarily beautiful and provides with exhilarating holiday experience. While planning your trip to Malaysia it gets important that you are aware of the tricks of the trade and make your bookings in such a way that help you save some serious cash.
To save some handy money you can simply opt for online bookings for Malaysia trip and here are some perfect tips that you can employ to make perfect savings –
1. Compare flight rates on Rate comparison sites –
One of the best tourist destinations in the world, Malaysia can provide to you one of the best and wonderful holiday experiences. To ensure that your holiday experience goes smooth, it is important to make your travel smoother. Buying a flight ticket can always prove quite an expensive affair and therefore you should always look to book with an online travel site after comparing the rates for hundreds of flights with different portals. You can always find best flight deals for Malaysia on rate comparison sites for flights and can book flights on cheapest days to travel with best flight at cheapest price.
2. Look for cheap and best accommodations –
Travelling to a beautiful country like Malaysia can let you experience the best time of your life. The experience gets even more pleasing if you avail the facility of best accommodation. To book a hotel room in Malaysia at some cool prices you can always take help of online hotel booking platforms. Here, you can compare the rates of different hotels in Malaysia offered by different hotel booking platforms. Now, you can simply chose a hotel room of your choice that is available at most suitable price and save some handy money.
3. Couchsurfing is quite perfect for individuals –
The trend of Couchsurfing in recent times has become quite popular and travelers from all over the world opt for this type of accommodation to save money and experience a homely feel. Couchsurfing is a community where hosts from all over the world offer their place on rent and travelers can chose a host in a city that they are going to visit. You can also opt for this service while in Malaysia and can save some handy bucks that you may spend on luxurious hotels.
4. Save money by opting for a travel package –
Planning a holiday in Malaysia may require you to carry out different permutations and combinations regarding booking for hotels, cabs as well as flights. It is at this time you can consider the option of booking a holiday package with a travel portal. Popular online travel portals provide you the facility of picking a tour package that suits your budget and you get best facilities within the budget. You can add to the package tourist attractions of your choice can also select the number of days. A holiday package is a more suitable option to enjoy your holiday in Malaysia and avoids you from overspending as well as wasting your money on expensive hotel and flight bookings.
5. Some other ways to save money on a trip
Traveling to airport to fly to Malaysia is always a proud feeling and it is at this time you can book an Ola cab to make your journey to the airport an exciting one. While booking a cab you can apply Ola Cabs Coupons and avail suitable discounts and save precious money.

