It’s time to up your travel photography game. Our lead photographer for Europe shows you how.
Wherever your travels will take you this summer, your vacation is the perfect chance to take stunning photos you’ll treasure forever. And you don’t have to be a professional photographer to capture all the gorgeous sights and memorable experiences you’ll encounter on your trip.
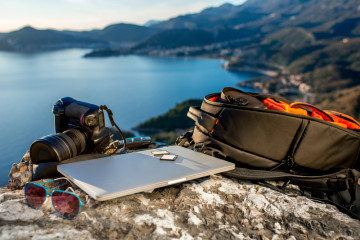
In the first part of my two-part travel photography guide, I took you through the kit you should consider taking with you, whether it’s a great phone like the iPhone 13 Pro or Samsung Galaxy S22 Ultra or a dedicated camera like the Canon EOS R5 or Leica M11.
Now, I’m going to take you through some of the best tips you should keep in mind while circling the globe — to help you come back with some glorious travel shots, instead of a boring bunch of holiday snaps.
Get to know your kit
Learning how to operate your camera will not only help you get better, more creative shots, but will help you snap those shots quicker, as you won’t have to fiddle around with settings. Some of the most exciting travel shots can come and go in a split second, so whether you’re capturing the running of the bulls in Pamplona or a snowboarder launching off a mogul in Switzerland, you’ll need to learn to shoot quickly.
Get out of automatic mode
Spend time with your camera in manual mode before you go away. Learn how to change shutter speed, aperture, ISO speeds and white balance, and experiment with what happens to your images when you change these settings. A good camera will be able to capture some great shots in auto mode, but when you want to get creative with long exposures, you’ll need to take manual control of the settings.
Shoot in raw
If your camera has it (and most do), shoot in raw format. Yes, it creates bigger files, but memory cards are so cheap now that it’s worth carrying an extra couple of 32GB cards with you. Raw shooting allows you to change white balance after your shot, and capture more details in the very bright and very dark areas, letting you tone down any blown-out skies or lighten some shadows in Photoshop.
Although it’s always best to get the shot right when you first take it, raw processing gives you much more flexibility to rescue a shot that’s not quite right.
Do your research
Search for your location on Google and visit travel websites to find out more about where you’re going. Not only will that help you make the most of your trip, you may find out about local events or particularly photogenic locations you may otherwise have missed.
You might also find out about photography restrictions that may land you in hot water — as a general rule anywhere, avoid photographing government buildings, and if you’re unsure, ask permission.
Search for your destination on Instagram or on photography websites such as Flickr and 500px for inspiration on what to see. It’s handy to get an idea of the shots other people have taken — either to replicate them yourself, or to avoid taking the same generic shot the Internet has seen hundreds of times before.
Take time to compose
Good composition will make or break a photo, and unlike white balance or color tone, poor composition cannot be fixed in post processing. The morning light bouncing off that rustic church won’t count for much if you’ve accidentally chopped off the spire in your hurry to take the shot.
Play with angles
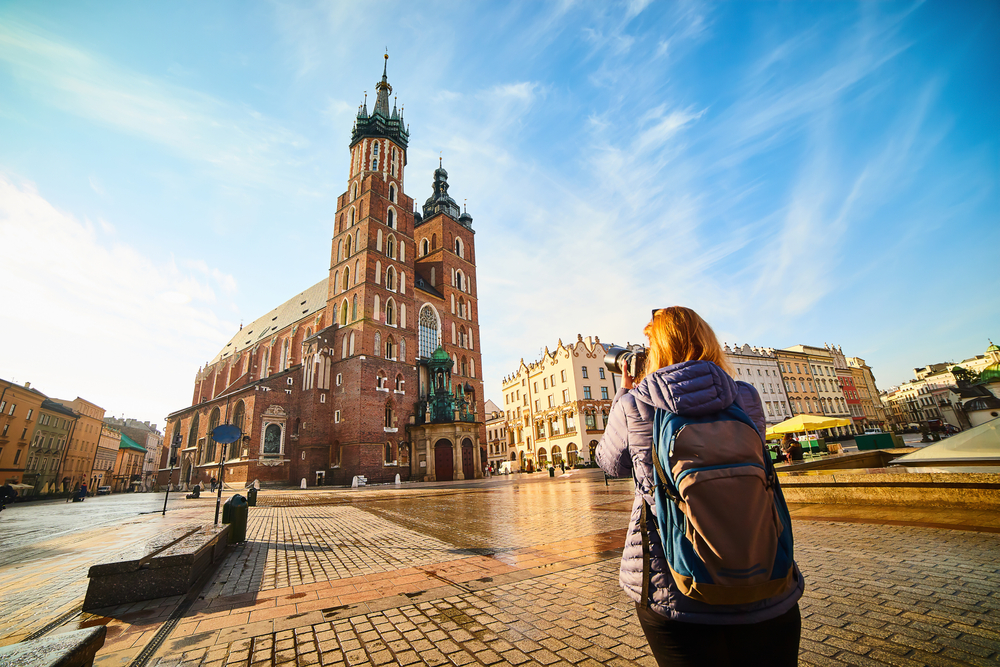
A generic shot of a popular spot can be transformed into an unusual and creative artwork simply by changing your angle. Take a moment to look at the scene before you shoot and don’t be afraid to move around to get the best angles. Struggling with a beach scene? Walk further down the coast to find boats, nets or rocks that might add foreground interest. Shooting in the city? Get up a tall building for dramatic urban cityscapes. Even just kneeling down and shooting from below can make a difference.
Don’t be afraid of the dark
Just because the sun has gone down, it doesn’t mean your photography needs to stop. It’s a great time to get creative with slow shutter shots. Long exposures blur motion, turning regular car headlights on a city street into creative, abstract light trails, streaking through the darkness. Use a narrow aperture — f12 to f20 — and a long exposure to turn points of light into gorgeous starbursts.
You’ll need to secure your camera firmly in place — with a tripod — and if you’re playing with exposures longer than a few seconds, you’ll need to be careful about the breeze or people walking by adding any vibrations. If you want to do long exposures in the daytime, you’ll need a dark neutral density filter, such as the Big Stopper by Lee Filters, to let you take minute-long exposures in the middle of the day.
If you’re shooting on a modern camera — especially with a larger, full frame sensor — then you can also likely increase your ISO speed above 3,200 without seeing too much degradation from image noise. Coupled with a wider aperture of f2.8 or more, you may have more luck shooting handheld scenes in low light. If this is a priority for you, cameras that also offer in-body image stabilization (like the Canon EOS R5) should be on your list; this stabilization lets you use slower shutter speeds without needing a tripod.
Be a people person
It’s often the people you meet as much as the places you see that makes traveling and exploring so interesting. People make fantastic subjects to photograph, whether they’re wandering the streets, relaxing or hard at work.
Naturally, not everybody will want to be photographed so, out of politeness if nothing else, it’s a good idea to ask the person’s permission beforehand. It’ll help if you do your research and learn a few key phrases of the local language to not only ask permission, but be able to understand the response. If they say no, it’s important to respect that.
Set your alarm
The middle of the day may be the nicest time to wander around Tuscan streets, grab a hot chocolate on the mountainside or order a third cocktail on the beach, but the midday sun doesn’t usually offer the best light for dramatic photographs.
It’s the early morning light, casting its long, golden shadows that will really make a place look its most beautiful. Setting your alarm for sunrise on holiday may seem like the worst thing in the world, but it’s worth trying — even just once — to see what sort of shots you get. Scout out locations beforehand to make sure you don’t waste the precious early hours trying to find somewhere to shoot.
Revisit the scene
When you stumble upon a particularly picturesque scene, don’t just visit it just the once. While a bay may look delightful in the daytime, it will look different again at night, with all the lights of nearby buildings stretching out across the water. If you know a great spot, do your best to come back to it to find out when it looks best.
Play with processing
Although you should always try to get the best shot you can when you first take it, some well-placed post processing can turn a good photo into a great one. If you’re shooting raw files you’ll need to process them anyway, so it’s worth trying out a few of the sliders in Adobe Lightroom while you’re at it.
With your raw files, the first thing you’ll need to do is correct the white balance. Have a play with the color temperature slider and see what tone suits best. Summer evening shots will benefit from a warmer color tone, while chilly February city streets will look best with something a bit cooler.
Toning down the highlights can help keep a bright sky under control, while lifting the shadows will help make darker areas more visible, without affecting too much of the rest of the scene. It’s important not to go overboard on this, as it can make your images look a little unnatural. From that point on, have a play with your editor of choice and see what you like. There’s no one right way to edit your shots — no matter what anybody says — it’s all about what you prefer.
Do your own thing
Sure, rules such as “take the lens cap off before shooting” should always be followed, but never be afraid to try an unusual angle, play with your settings or experiment with new editing techniques in Lightroom.
If everybody always followed the exact same format, everybody’s photography would look the same. Use these rules as guidelines and play with angles, settings and editing as much as you want to find what works for you.